Quick Start Guide
Why ONE AI?
With ONE AI, anyone can create custom AI models in minutes without AI expertise. Train powerful models on our cloud servers, then deploy lightweight, optimized models that run efficiently on any device - even resource-limited microcontrollers.
Free Download
ONE AI is built on top of our Open Source IDE ONE WARE Studio.
- Windows
- Linux
- MacOS
Download ONE WARE Studio:
Or install using winget:
winget install OneWare.OneWareStudio
Using Snap (Recommended)
ONE WARE Studio is officially distributed as a Snap package in the Snap Store:

You can install it by running:
sudo snap install --classic oneware
Note: If snap isn't available in your Linux distribution, please check the following Installing Snapd guide, which can help you get that set up.
Using Flatpak
Another possibility is the use of our flatpak:
You can install it by running:
flatpak install flathub com.one_ware.OneWare
Manual Installation
If you can't install snap or flatpak on your machine, it is possible to download the binaries manually from GitHub (select the .tgz version for universal linux support). Please note that as of now these binaries have no update functionality, so make sure to check for updates regularly.
| Architecture | Download |
|---|---|
| x64 (Intel) | Loading... |
| arm64 (Apple Silicon) | Loading... |
Setup ONE AI
- Install the ONE AI Extension in ONE WARE Studio
- Sign up to ONE AI
- Complete the address verification to get free welcome credits
Download demo project
We created two simple demo projects that help you get started with ONE AI. Pressing one of the download buttons below will automatically open OneWare Studio and import the demo project. If you are interested in a different demo, you can check out our full list of tutorials here.
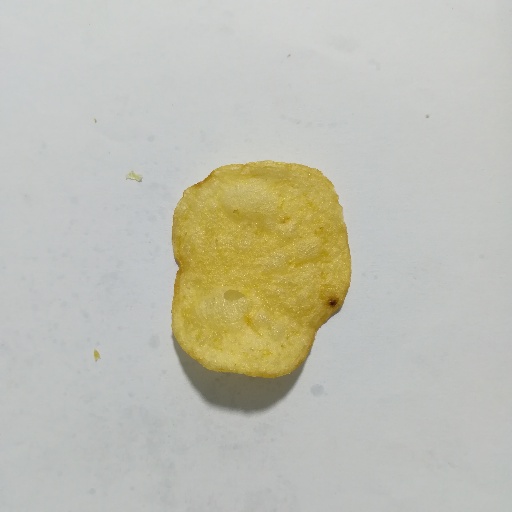
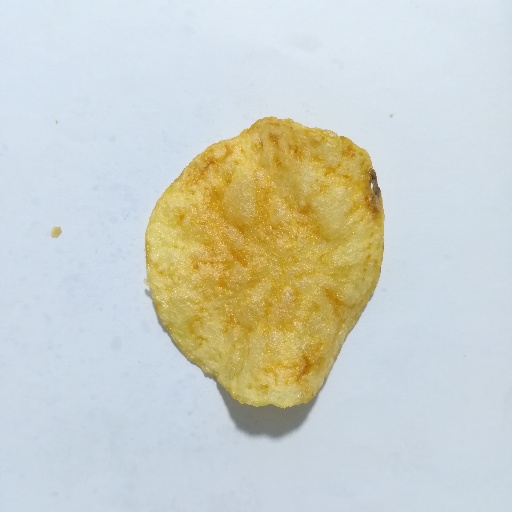
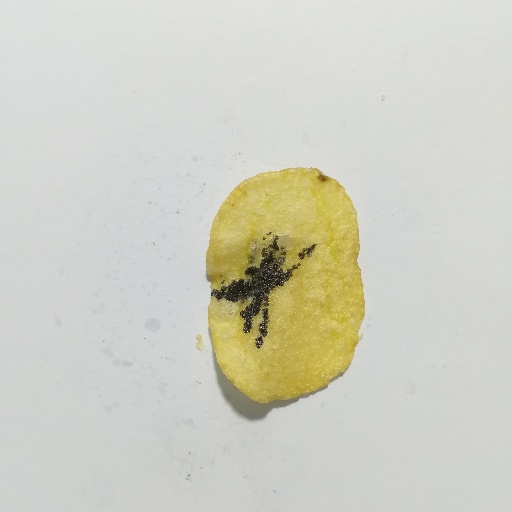
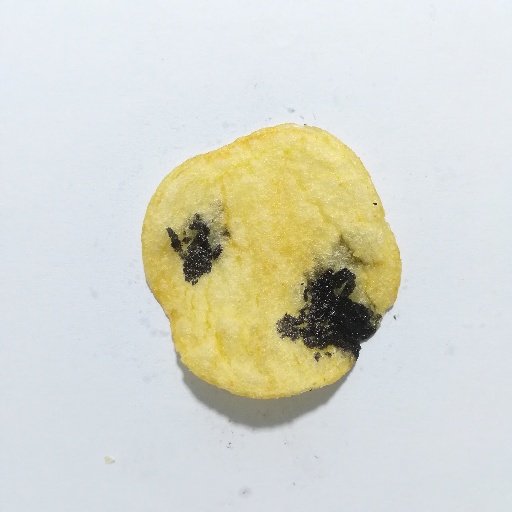
Demo 1: Quality control for potato chips
This demo shows how to use ONE AI to create a quality control application for potato chips. The goal is to distinguish between good and burned potato chips.
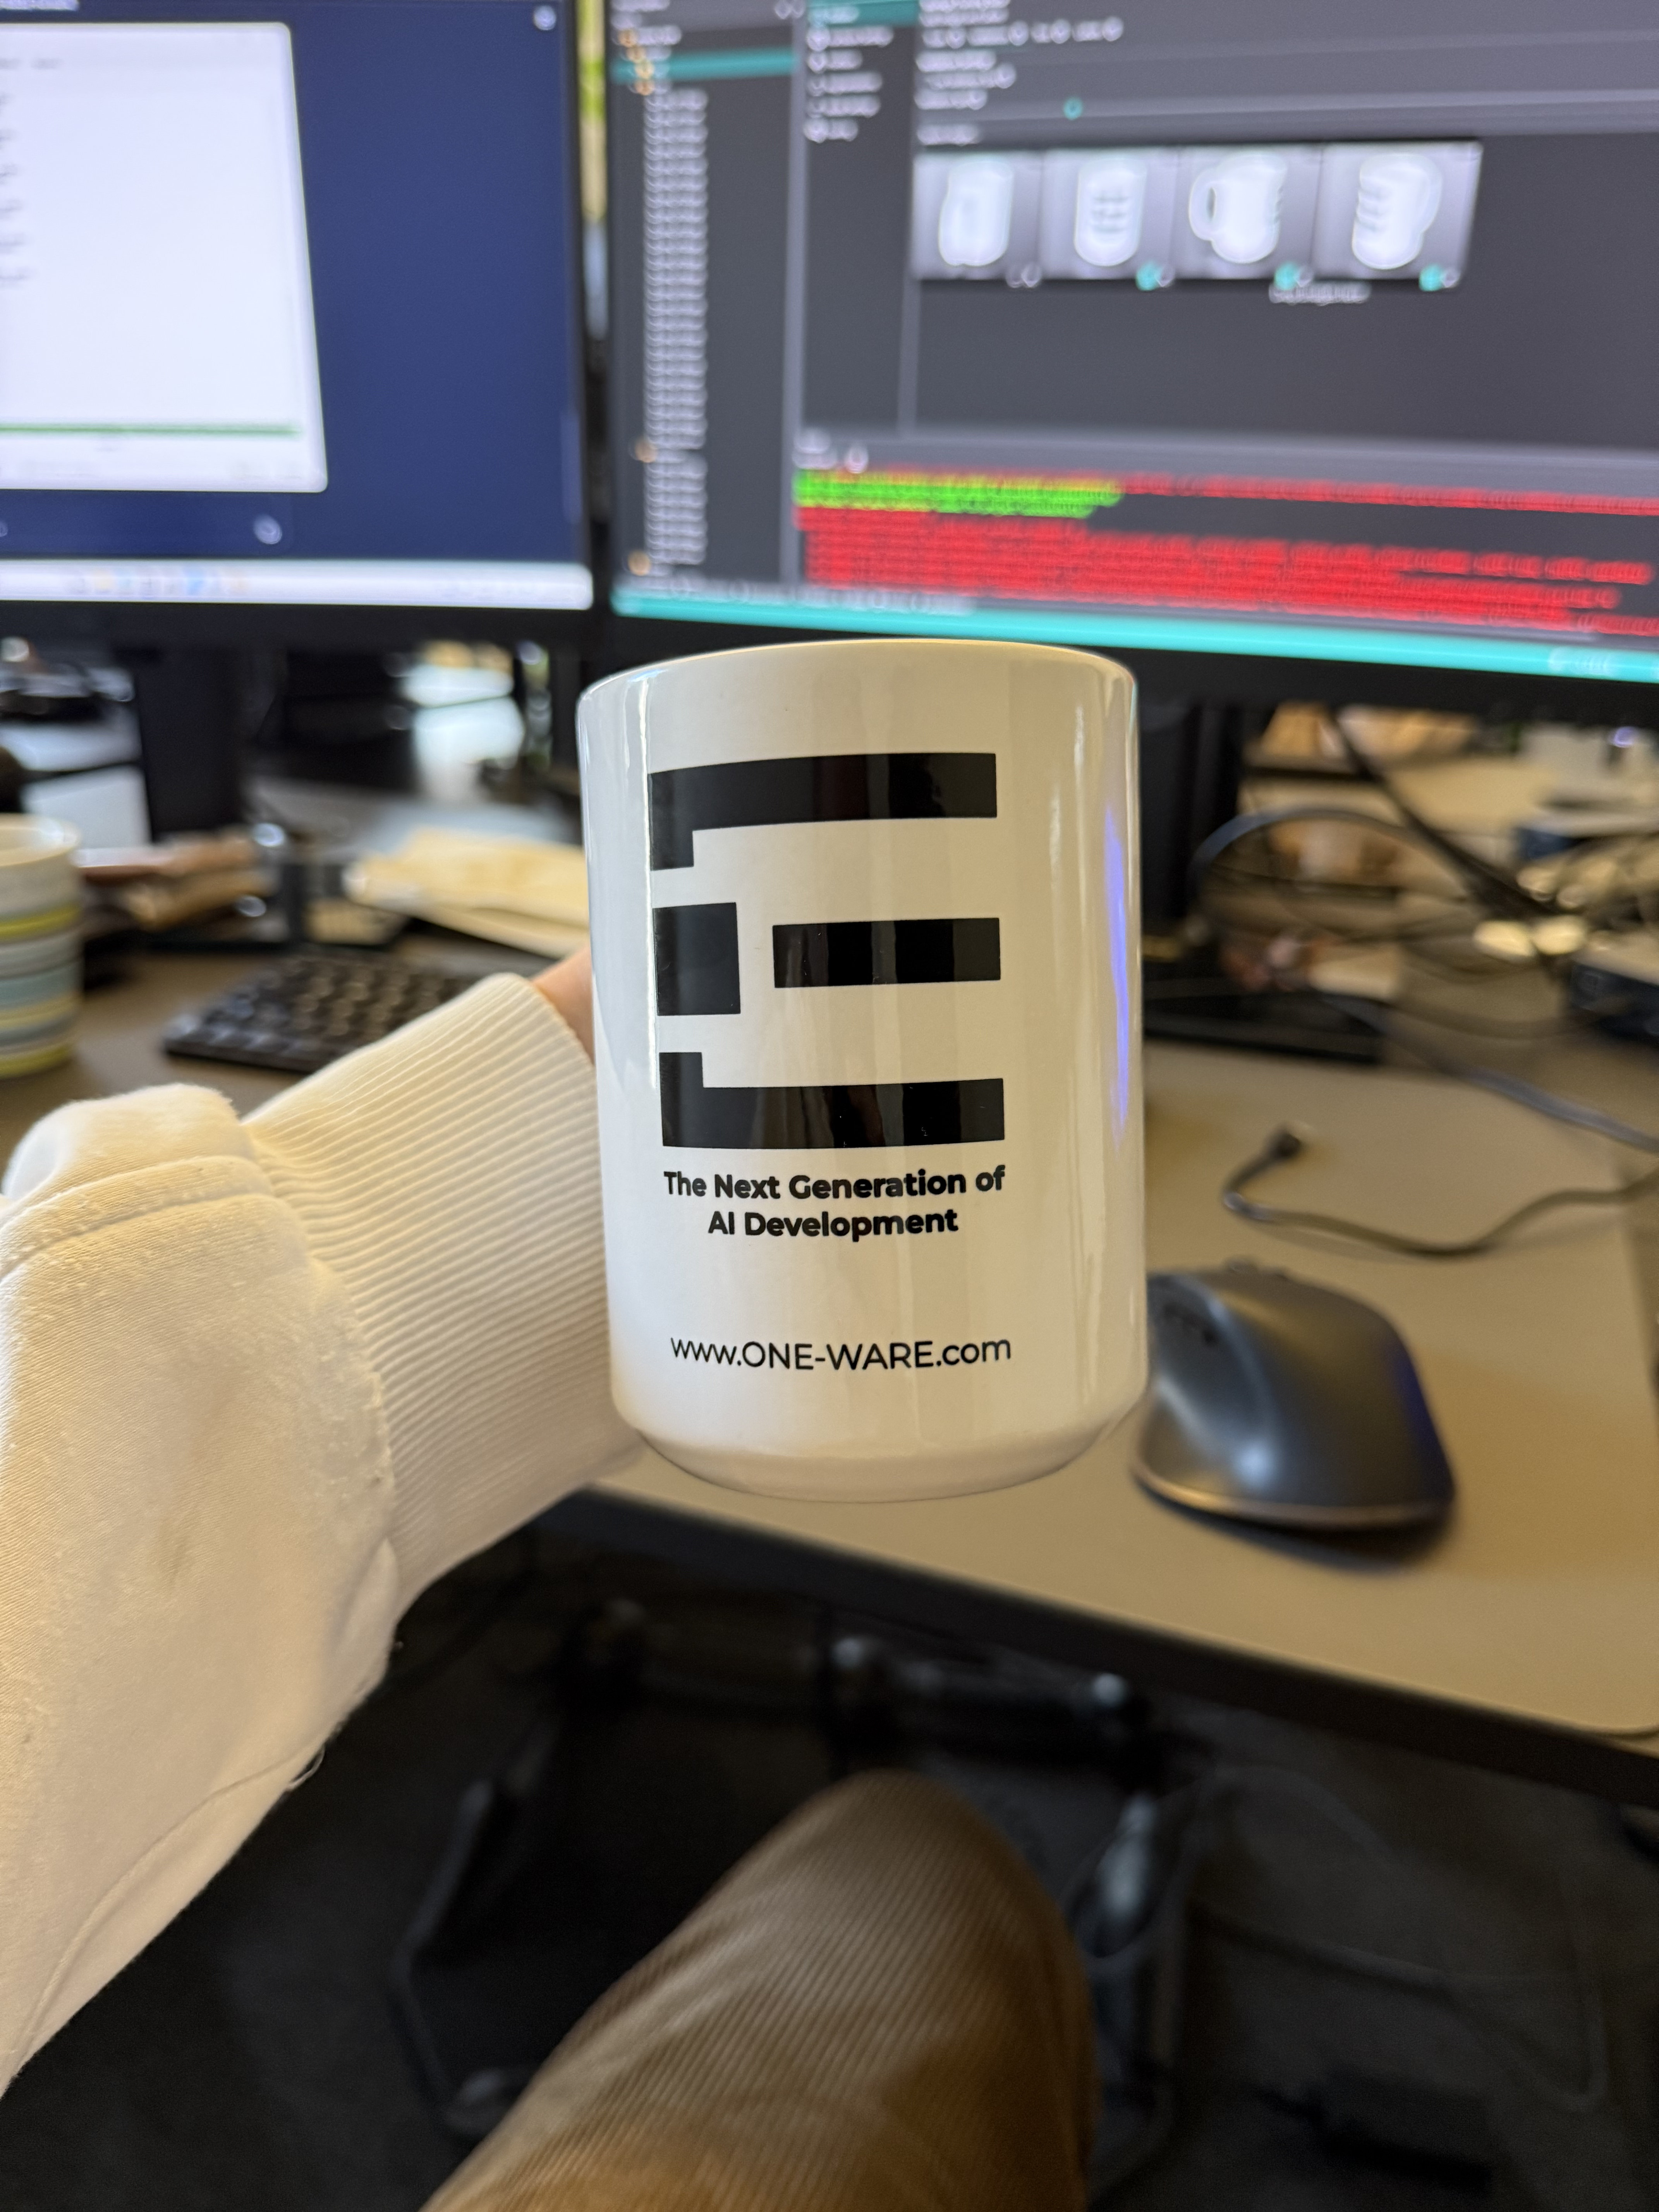
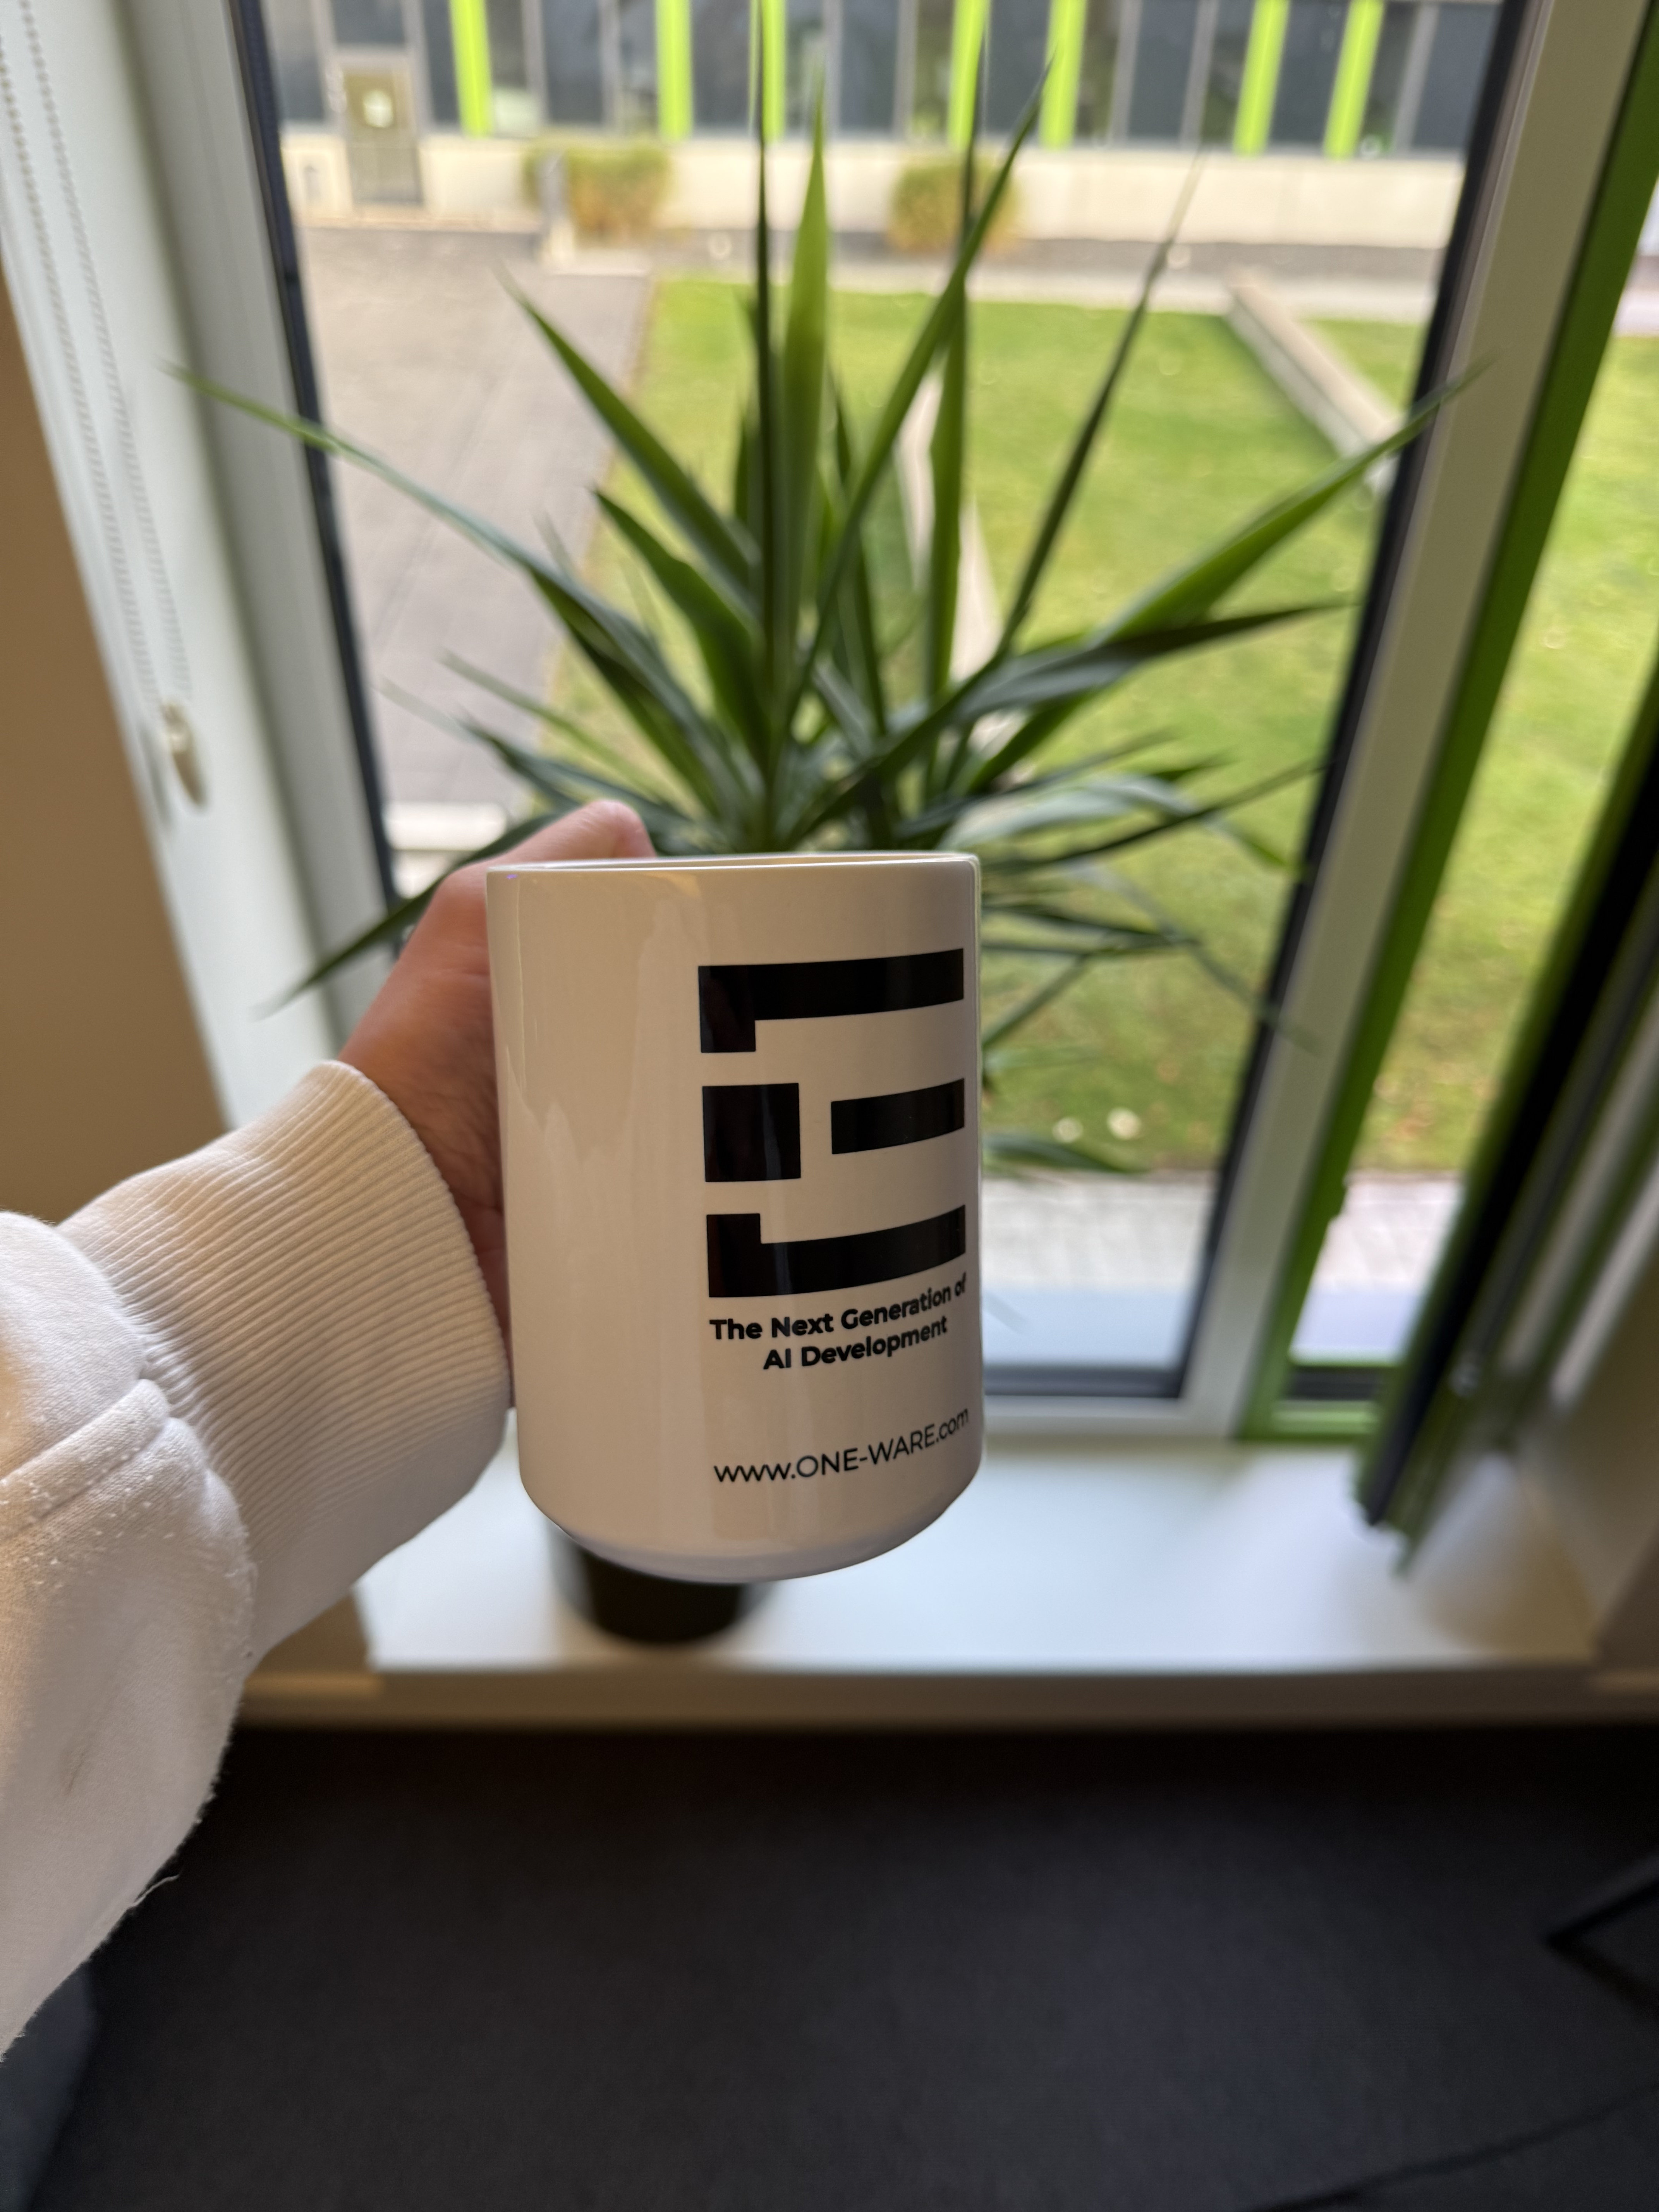
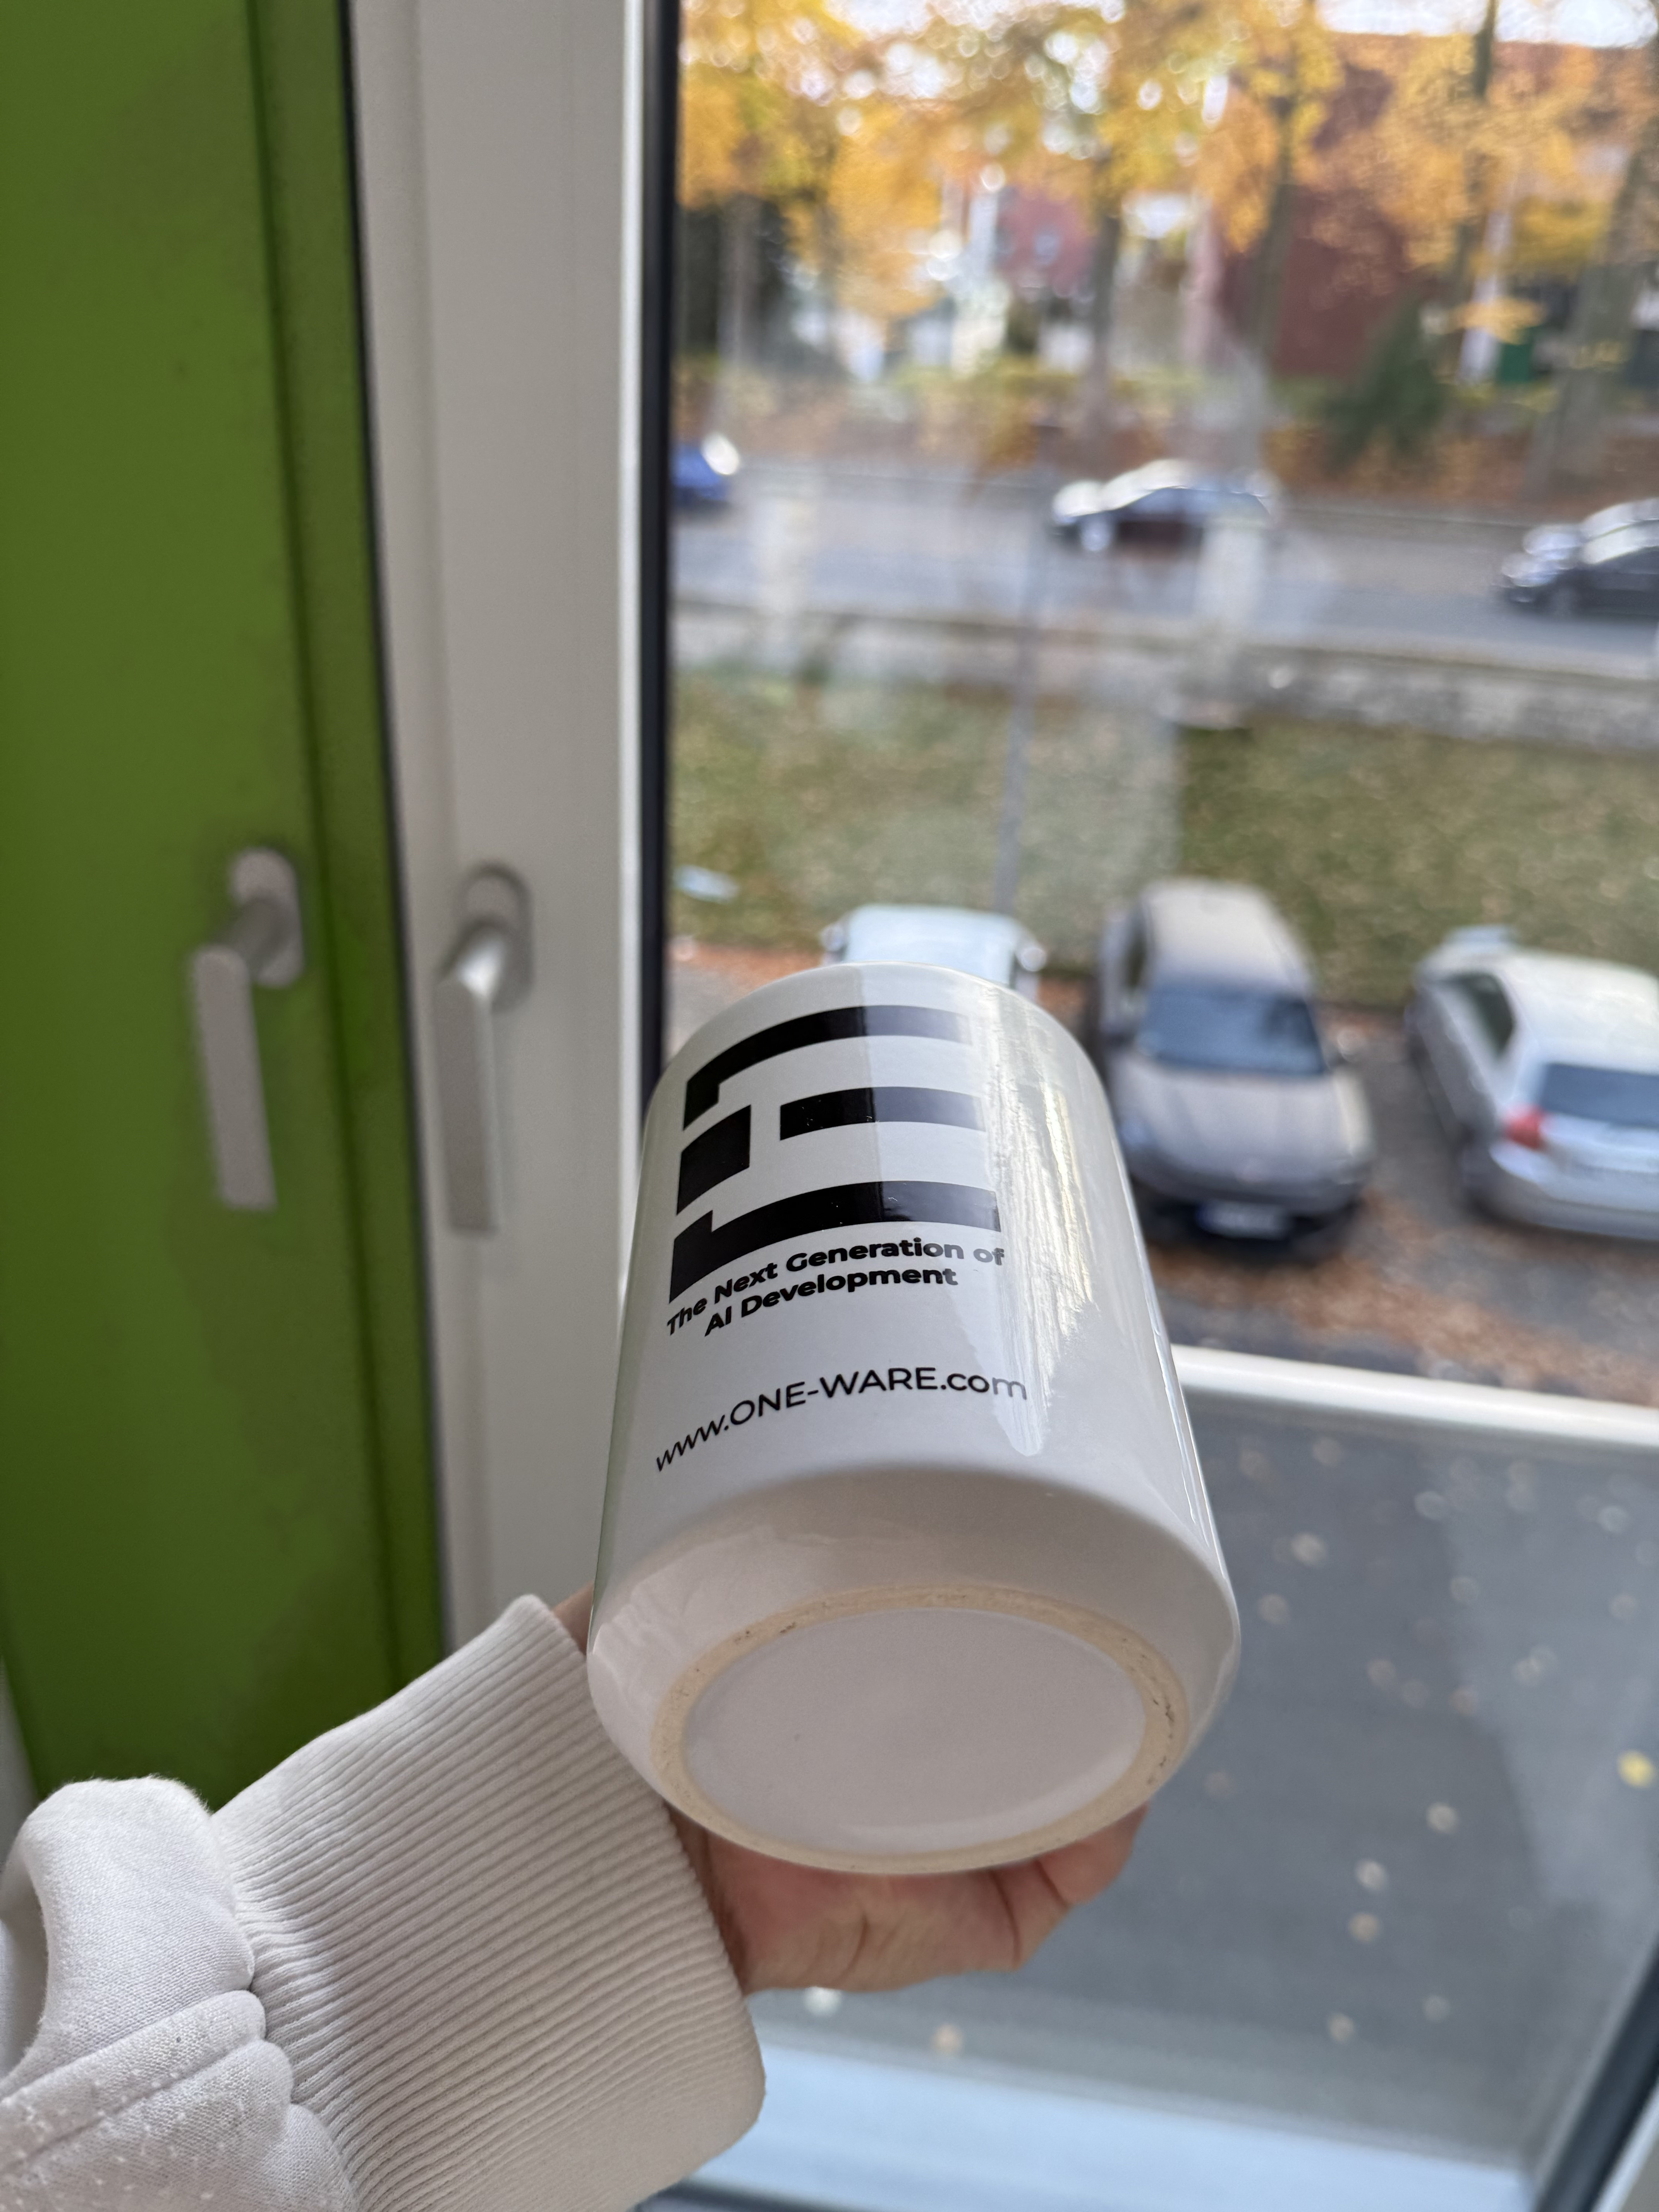
Demo 2: Detecting printed logos on cups
This project demonstrates how to create an object detection model that recognizes the logo that is printed on our company coffee cups.
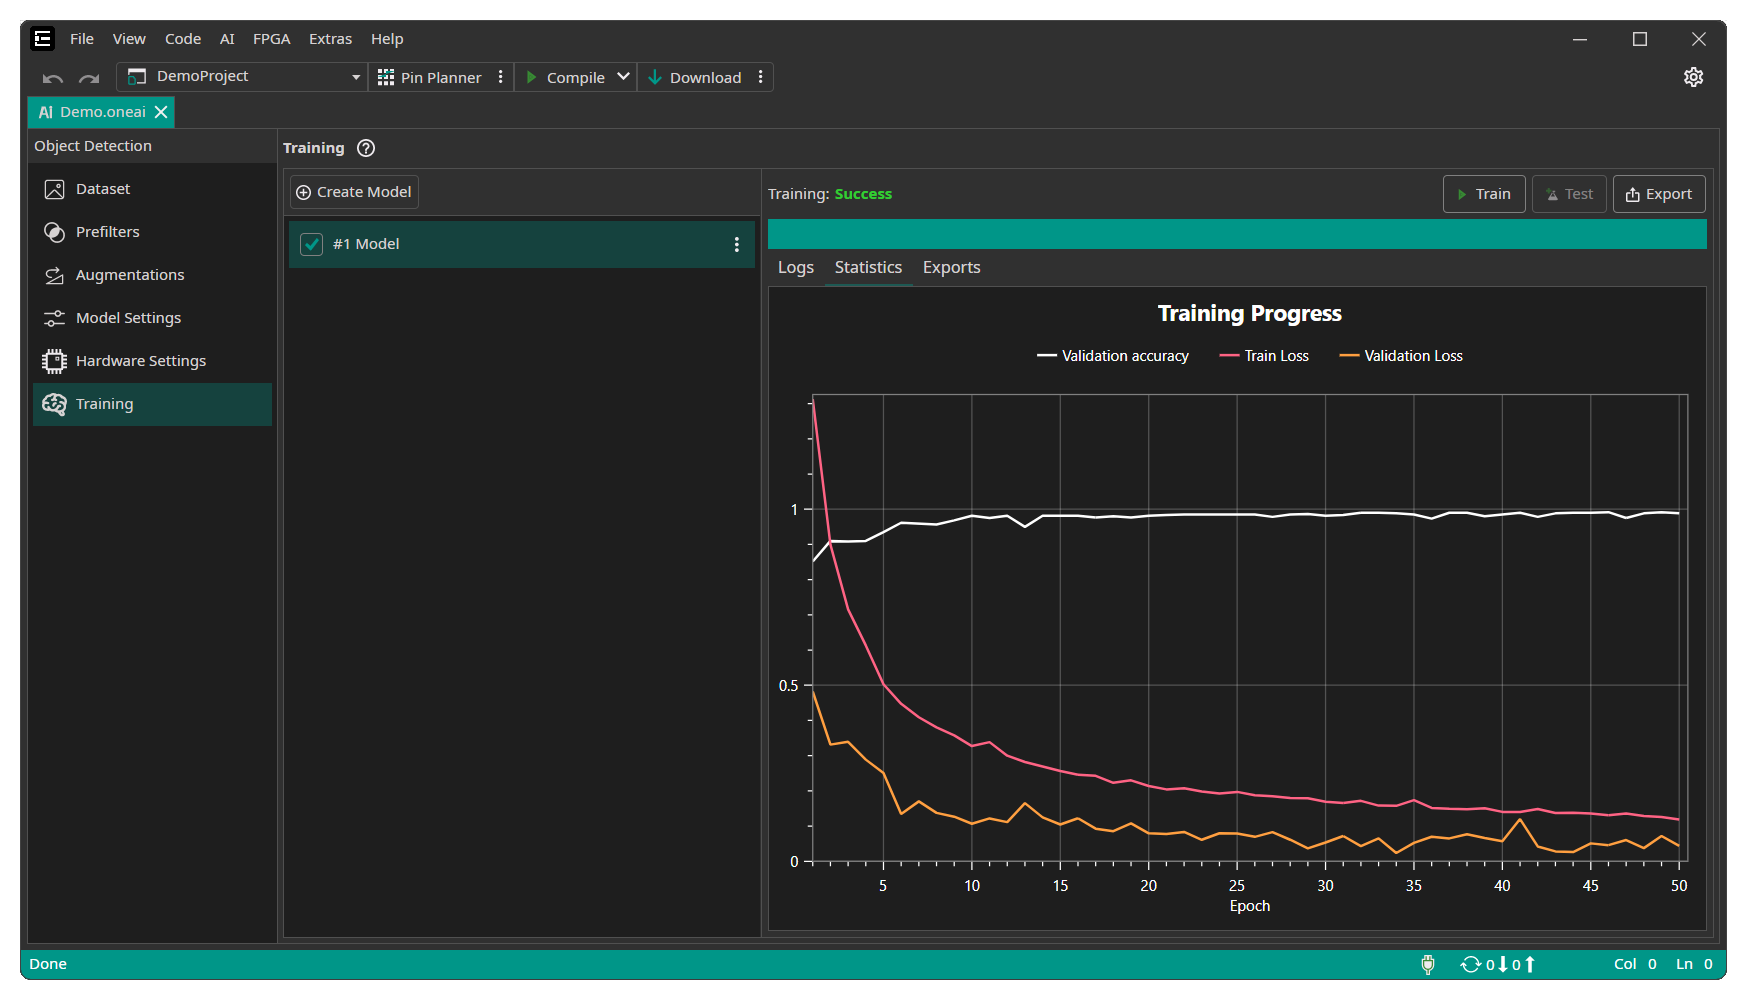
Start training
Since the demo project is already configured, you can directly start training the AI model. Go to the Training tab and click on Sync to connect to the OneWare Cloud. Afterwards you need to click on Create Model to create a new model instance, after which you can click on the Train button. Because the application is very simple, it is sufficient to train the model for only 2 minutes. The other settings can be left at their default values.
Where to go from here?
We have several different guides and tutorials to help you get started with ONE AI:
Need Help? We're Here for You!
Christopher from our development team is ready to help with any questions about ONE AI usage, troubleshooting, or optimization. Don't hesitate to reach out!