Dataset Management
The Dataset tab provides tools for importing, organizing, labeling, and splitting image data used for model training, validation, and testing.
1. Image Import
Access the Dataset tab to manage training data.

Import Methods
| Method | Description |
|---|---|
| Drag & Drop | Import image files directly into the workspace |
| Import Files / Import Folders | Load unlabeled image data from the local filesystem |
| Import Dataset | Load a pre-labeled dataset in a supported annotation format |
| Camera Tool | Capture images directly from connected cameras (multi-camera supported) |
| Spectrogram Generator | Convert audio or CSV files into spectrogram images |
Supported Annotation Formats
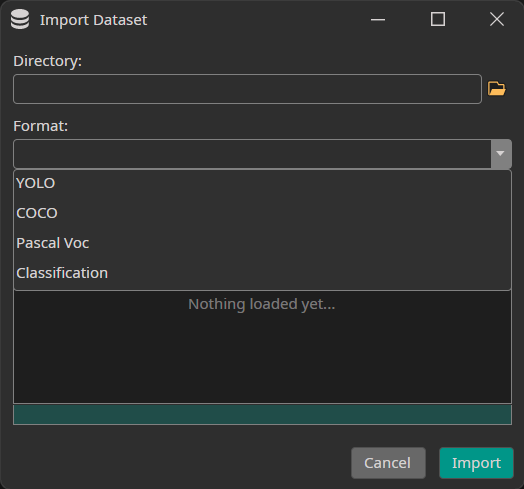
| Format | Description |
|---|---|
| YOLO | .txt annotation files with normalized bounding box coordinates |
| COCO | JSON annotation file with bounding boxes and segmentation masks |
| Pascal VOC | XML annotation files per image |
| Classification | Directory-per-class folder structure |
| PNG Mask (Semantic) | Per-image PNG masks where pixel values encode class IDs — for semantic segmentation datasets |
Try one of these demo datasets to get started quickly:
Camera Tool Integration
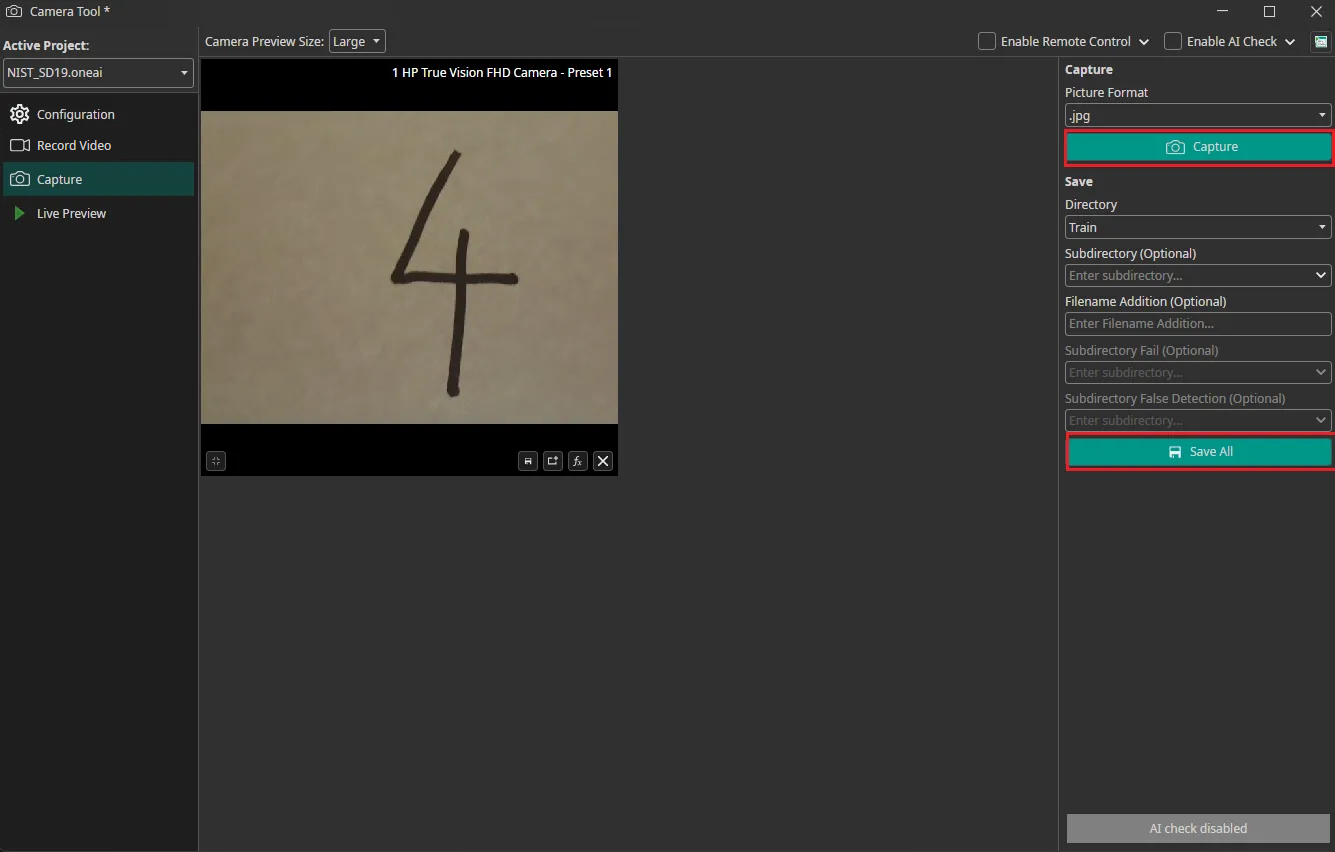
The integrated Camera Tool captures images directly from connected cameras. Images are automatically timestamped, and multi-camera simultaneous capture is supported.
Spectrogram Generator
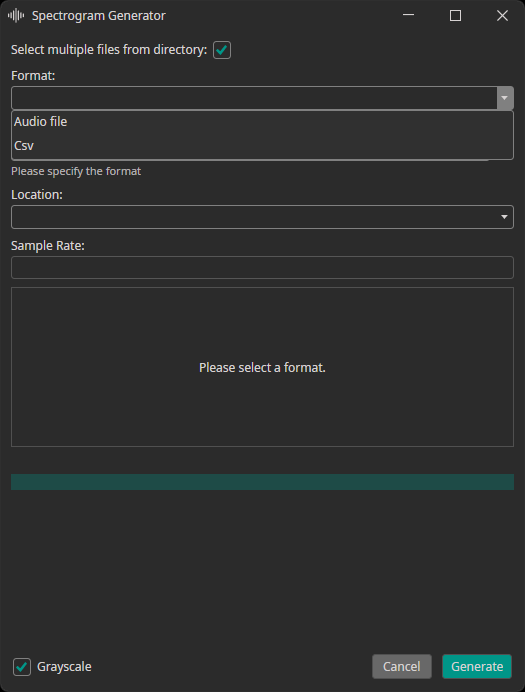
Converts audio or CSV files into spectrogram images for audio/time-series classification tasks.
| Option | Description |
|---|---|
| Target split | Train, test, or validation directory |
| Sampling rate | Must match the source data's sampling rate |
When real training data is scarce (edge cases, rare objects, privacy constraints), synthetic data generation via Rendered.ai provides a scalable alternative.
2. Label Modes

Choose a label mode based on your task:
| Mode | Annotation | Use Case |
|---|---|---|
| Classes | One or more class labels per image | Quality control, sorting, counting |
| Objects | Bounding boxes with class labels | Locating and identifying multiple objects |
| Segmentation | Pixel-precise masks per object | Surface defects, medical imaging, precise region delineation |
Converting Labels to Classification
Switching the label mode from Objects or Segmentation to Classes converts the dataset at training time (annotation files on disk are not modified). For finer control, keep the original label mode and select a Prediction Type or Segmentation Type in the Model Settings tab:
| Prediction Type | Behavior |
|---|---|
All Present Object-Classes | Selects all classes present in the image |
Class with Largest Combined Object Area | Selects the class with the largest total bounding box area |
Class with Most Objects | Selects the most frequently occurring class |
At Least One Object? (Y/N) | Binary: any object present or not |
3. Dataset Splitting
Images are organized into three splits:
| Split | Purpose | Recommendations |
|---|---|---|
| Training (~70%) | Primary data the model learns from | Minimum 50 images per class |
| Validation | Monitors performance on unseen data during training; labels required | 20–30% of training set if no separate images available |
| Test | Final evaluation after training; should represent deployment conditions | Labels optional but recommended for quantitative metrics |

If no separate validation images are available, enable Use Validation Split to automatically partition the training set:
| Dataset Size | Recommended Split |
|---|---|
| Small | 30% |
| Standard | 20% |
| Large | 10% |

If no separate test set is available, the validation set can be used for final evaluation. Because ONE AI uses the validation set only for early stopping (not hyperparameter tuning), results will be reasonably representative.
4. Labeling
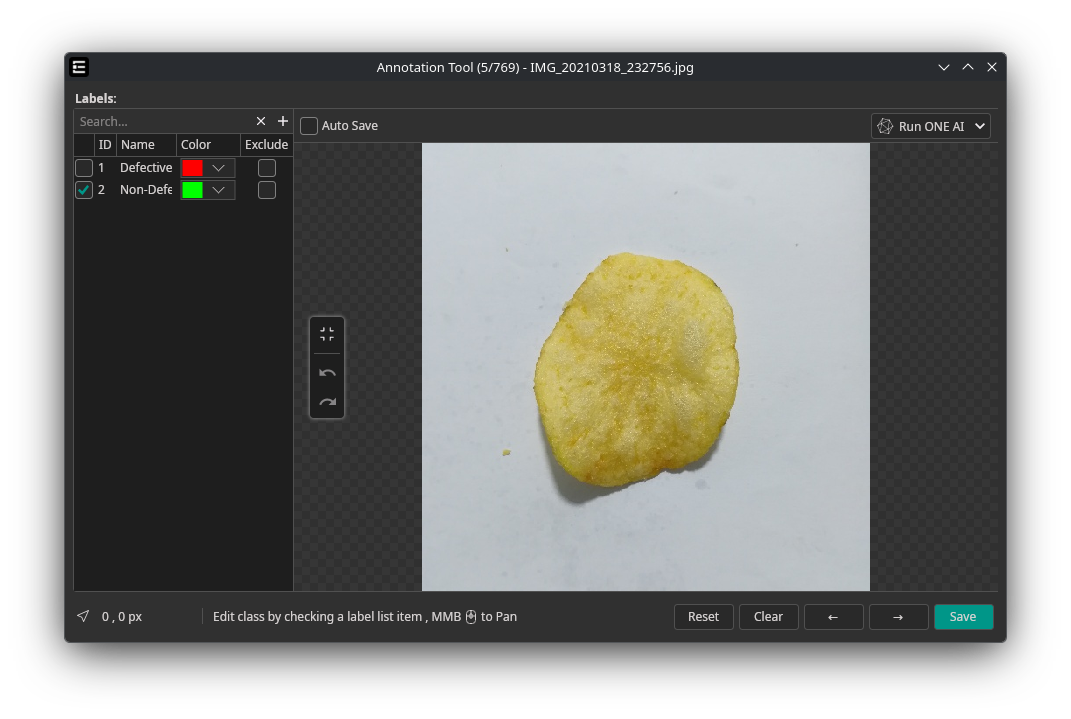
Open the Labels tab to define class labels. Each label can be assigned a unique color for visual distinction in the annotation tool.
Classification
Select or deselect class labels for each image using the label checklist. Multiple labels can be assigned simultaneously for multi-label classification tasks.
Object Detection
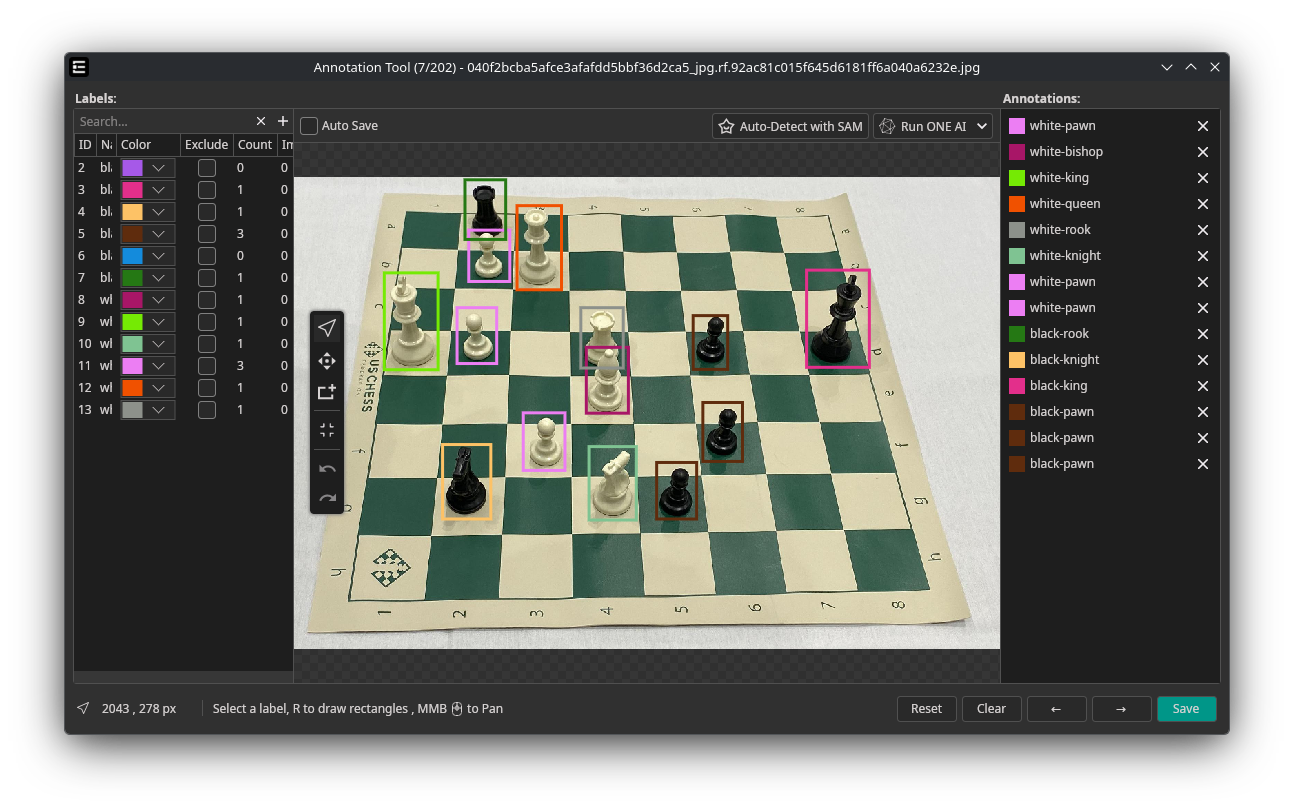
Draw bounding boxes around objects and assign a class label to each box.
| Shortcut | Tool | Description |
|---|---|---|
| R | Rectangle | Draw a bounding box around an object |
| C | Cursor | Select, move, and resize existing boxes |
| Delete | Delete | Remove the selected bounding box |
Segmentation
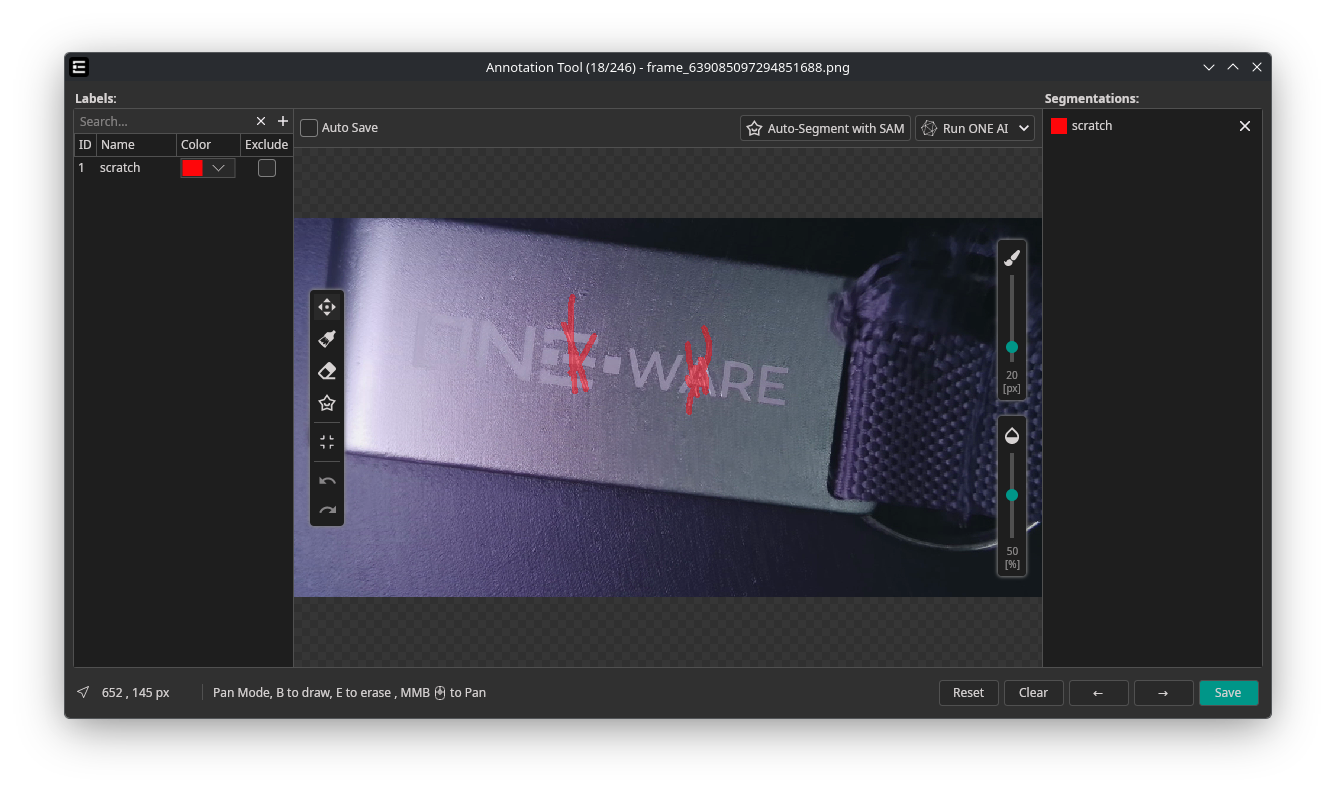
Create pixel-precise masks to delineate object boundaries.
| Shortcut | Tool | Description |
|---|---|---|
| B | Brush | Paint mask regions directly onto the image |
| S | SmartFill | Draw a rectangle — SAM automatically fills the enclosed mask |
| E | Eraser | Remove parts of existing masks |
| Control | Range | Description |
|---|---|---|
| Brush size | 4–120 px | Adjustable via slider |
| Opacity | 0–100% | Controls mask overlay transparency |
5. AI-Assisted Annotation
Speed up labeling by using a trained model or Segment Anything (SAM) to predict annotations automatically.
Using Your Own ONE AI Model
Auto labeling works for all three annotation modes:
| Mode | Output |
|---|---|
| Classification | Predicted class labels |
| Object Detection | Predicted bounding boxes with class labels |
| Segmentation | Predicted pixel masks per class |
Requirements: An exported ONNX model (downloaded via the Exports tab).
Workflow:
- Open the Dataset tab → click an image to open the annotation tool
- Click the arrow in the top-right corner → select your ONNX model → click +
- Configure Minimum Confidence threshold for predictions
- Click the AI button to apply predictions to the current image
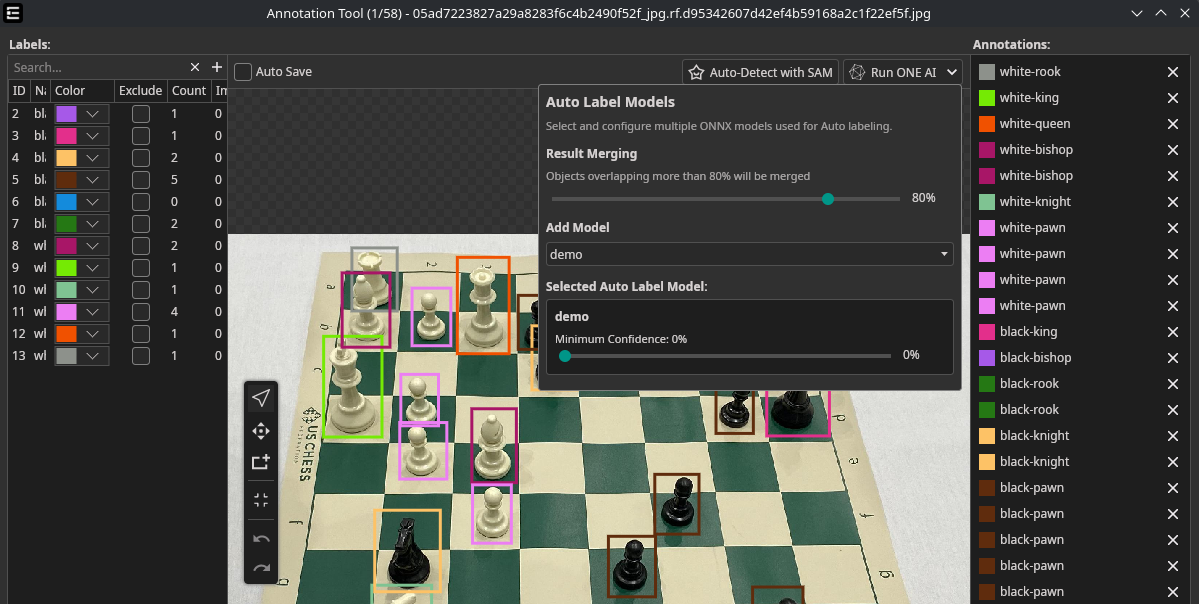
For object detection, an IoU merge threshold prevents duplicate detections when using multiple models. For segmentation, results from multiple models are automatically fused.
Predictions can be discarded with the Reset button or manually corrected.
Using Segment Anything (SAM)
Segment Anything provides AI-assisted annotation using text prompts — no prior training required. SAM is available in both Object Detection and Segmentation modes:
- Object Detection — click Auto-Segment with SAM to generate bounding boxes
- Segmentation — use the SmartFill tool (S) to draw a rectangle and let SAM predict the mask, or click Auto-Segment with SAM for full-image segmentation
See the Segment Anything guide for detailed setup and usage instructions.
Annotate a subset manually → train a model → use that model to assist annotation of remaining data. Repeat to progressively improve prediction quality.

Need Help? We're Here for You!
Christopher from our development team is ready to help with any questions about ONE AI usage, troubleshooting, or optimization. Don't hesitate to reach out!