General settings
The General tab contains the essential settings for your project. Configuring these first is recommended before moving on.
Label Modes
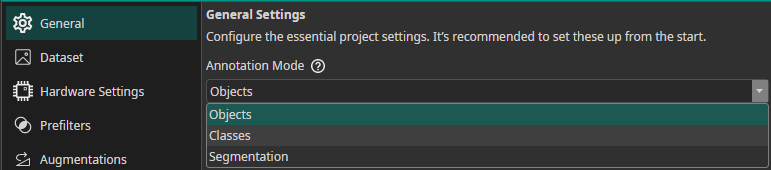
Choose a label mode based on your task:
| Mode | Annotation | Use Case |
|---|---|---|
| Classes | One or more class labels per image | Quality control, sorting, counting |
| Objects | Bounding boxes with class labels | Locating and identifying multiple objects |
| Segmentation | Pixel-precise masks per object | Surface defects, medical imaging, precise region delineation |
Converting Labels to Classification
Switching the label mode from Objects or Segmentation to Classes converts the dataset at training time (annotation files on disk are not modified). For finer control, keep the original label mode and select a Prediction Type or Segmentation Type in the Model Settings tab:
| Prediction Type | Behavior |
|---|---|
All Present Object-Classes | Selects all classes present in the image |
Class with Largest Combined Object Area | Selects the class with the largest total bounding box area |
Class with Most Objects | Selects the most frequently occurring class |
At Least One Object? (Y/N) | Binary: any object present or not |
Configurations
Configurations let you test different parameter variations within the same .oneai project. Use them whenever you need slightly different settings, such as targeting different hardware.
Configuration workflow
Add a custom configuration
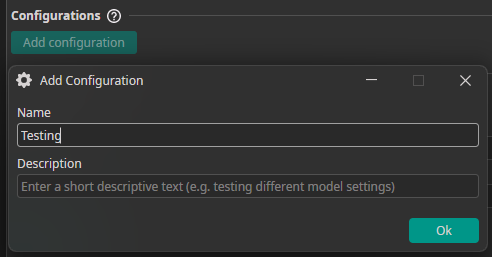
All projects begin with the default configuration. To add a custom configuration, navigate to the General tab and click Add configuration. Enter a name and description, then confirm the dialog:
Active configuration
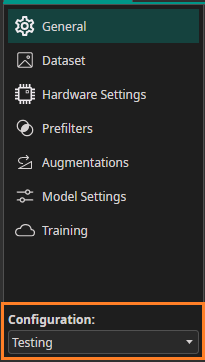
The added configuration will be automatically selected as the active one:
Override Properties
When a non-default configuration is active, changing any setting* creates an override of the default value. Overridden settings are marked with a red exclamation mark. Hover over it to reveal a reset icon that undoes the override.
*While most properties support per-configuration overrides, the label and group settings are global and unaffected by configuration changes.
Once a value is set and exclamation mark will be shown, the only way to remove the override is by clicking the exclamation mark. Setting the value back to the previous value will not remove the override.
ONE AI model
If you are ready with the setup, you can navigate to the Training tab and create a new ONE AI model corresponding to your configuration. Select your desired configuration as the active one and click Add model:
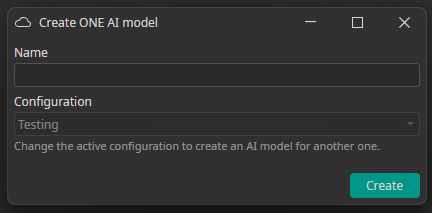
Afterwards you are ready to train, test and export your model with custom values that derives from your default project settings. Learn more about it in the Training & Export section.
Multi-Image
Multi-Image mode lets your custom AI model take several images as input at once, rather than analyzing them one at a time. This is ideal for tasks such as comparing images, combining information from multiple sources, or capturing an object from different angles or lighting conditions.
Modes
| Mode | Use Case |
|---|---|
| Default | For different image types (e.g. RGB, depth) from a single position, or one image type from multiple positions (e.g. left, right), without custom comparison logic. |
| Advanced | For full control. Map image groups (e.g. left_RGB, left_depth) to types and positions, and customize how they are compared. |
Default mode
Choose a fusion type according to your requirements:
| Option | Use Case |
|---|---|
| Different Positions | Detect objects or the image class using multiple images taken from different directions. |
| Overlap Difference | Use when your template images for comparison are in the same position as the image being tested. |
| General Comparison | Use when your template images for comparison are in a different position than the image being tested. |
| Different Image Types | Combine multiple image types, such as RGB + depth, or images that differ significantly, for one prediction. |
Image Groups
The resulting ONE AI model will be trained based on image sets, which are images grouped by their filename suffixes. Specify which images a set contains (e.g. left, top, bottom). The expected filename is {basename}_{groupName}.{extension}.
Example for image groups temp and ref:
- img-01_temp.png
- img-01_ref.png
- img-02_temp.png
- img-02_ref.png
- etc.
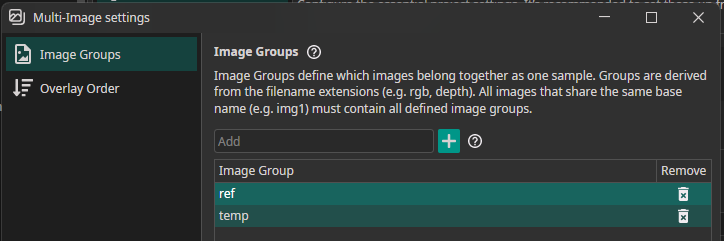
Overlay order
The overlay order is the order the ONE AI model expects the input data. The last image group is the one the annotation file corresponds to and will be therefore displayed by default in the Dataset tab.
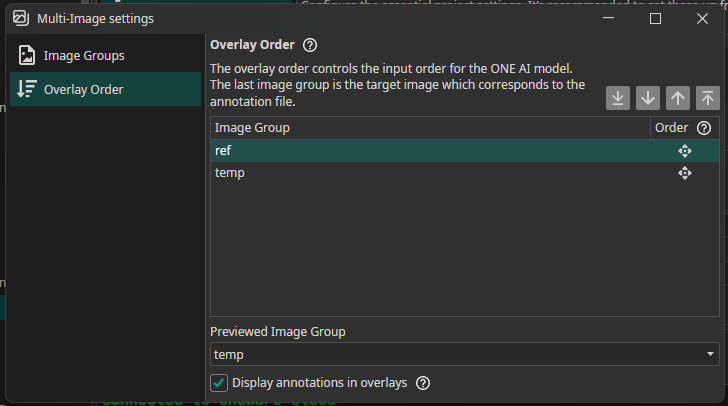
Advanced mode
Click on the Configure button to adjust the multi image settings.
Image Types
Add your image types such as rgb, depth, thermal:
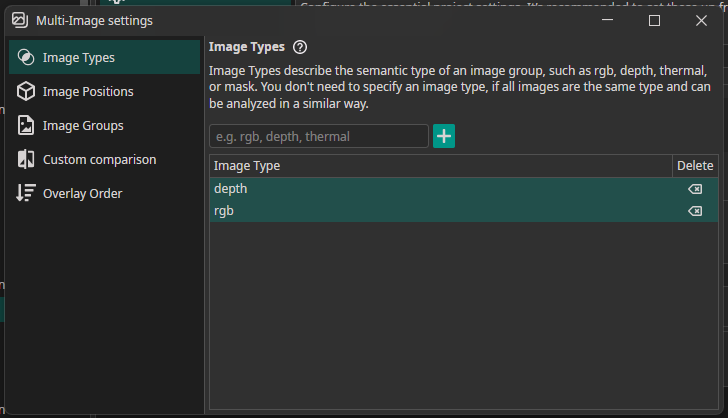
Image Positions
Add your image positions like top, left, right, cam01,:
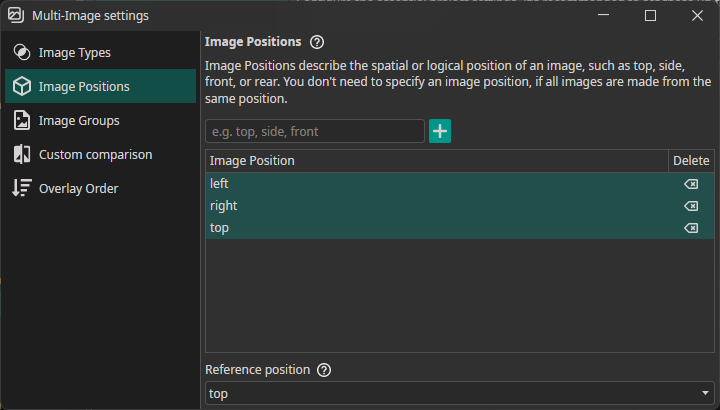
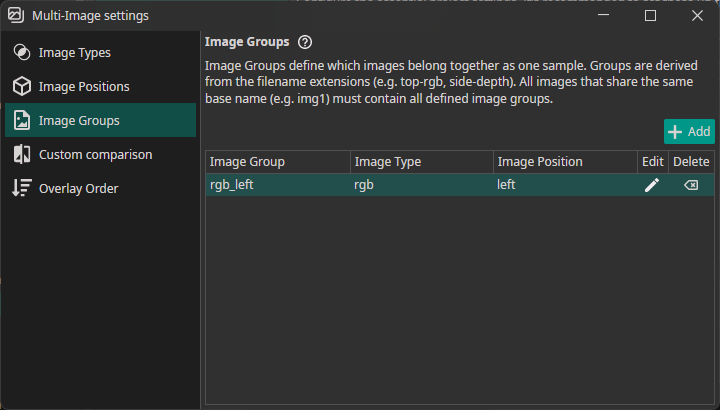
Image Group Mapping
This setting is the pendant to the default mode image groups with the difference, that each image group needs to be mapped to a type and/or position.